Cleaner Bread Dough Mixing

So, this week was a bust for me as far as cooking and baking goes. Didn’t get to do much. DH’s nephew came home to Canada after four years in Asia, DH was swamped with lots of work at night after we closed the store, and we did lots o’laundry. All of that adds up to me cooking… twice, I think, all week. And they were fast and dirty meals, too. Nothing fancy, nothing new. Nothing to blog about certainly. Sorry. :-\
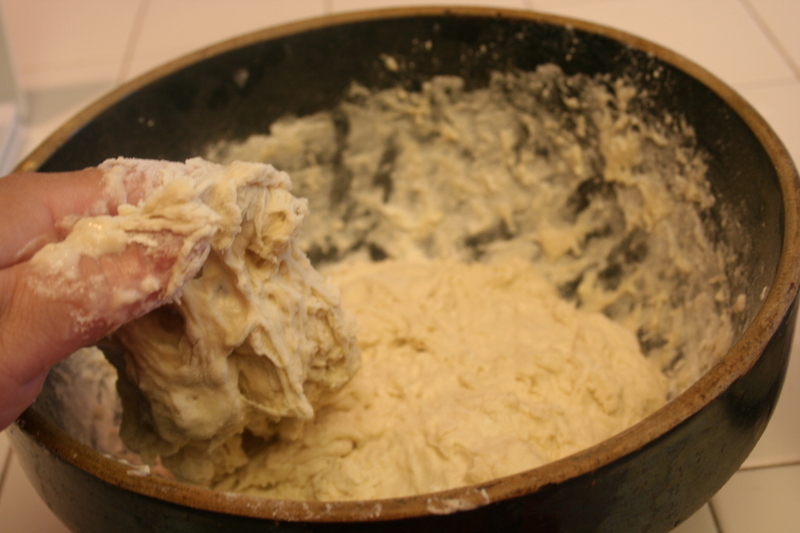
Unpleasant sticky fingers

I did think of a few tips I wanted to pass along to those of you who want to make bread but don’t because you’re like me and you can’t stand sticky anything on your fingers as you work.

1. I have been known to employ my KitchenAid mixer to do the bulk of the dough kneading for me and then when the ball is formed, turning it out on the counter and giving it ten of the best minutes of my upper body workout.

2. Before DH bought me the Mixinator, I employed another method: mixing the wet and dry ingredients in a bowl with a big wooden spoon till it was all incorporated before turning it out onto the counter.

3. Recently I came across another clean method, and you will love this. It’s so simple, so clever, you will roll your eyes while asking yourselves why you never thought of it yourself. The idea is to lay out a generous sheet of parchment or wax paper on the counter, drop your flour down, make your well and then add your wet ingredients in the middle. Now, here is the fun part: Take diagonal corners of the paper and push the flour into the middle of the wet ingredients – alternating corners as you go before doing a quarter turn of the paper before picking up two more corners. Do this till all of the flour is more or less incorporated and you feel the ball isn’t sticky anymore. From there you can then turn it out and do your normal kneading on a lightly floured counter top.

Hopefully you’ll find one of these methods works well enough for you to adopt. Happy bread making!

What’s cookin’, Pastarella? (part 5)

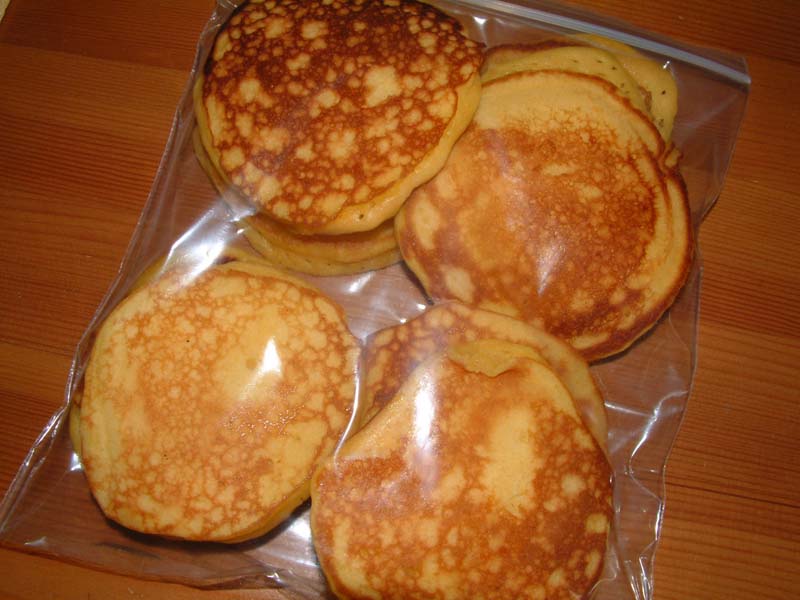
These are some yummy pancakes I make using a jar gift recipe (below). I sub out the milk for whatever juice we have on hand each Sunday morning. Today’s was a mix of fruit and veg. We can taste the fruit in the cakes and they even seem a bit more moist. And you can’t beat an orange hued pancake! Taste + colour changes = heaven as far as I’m concerned. Oh, and we also use this batter to make our waffles when we’re not in the mood for pancakes.

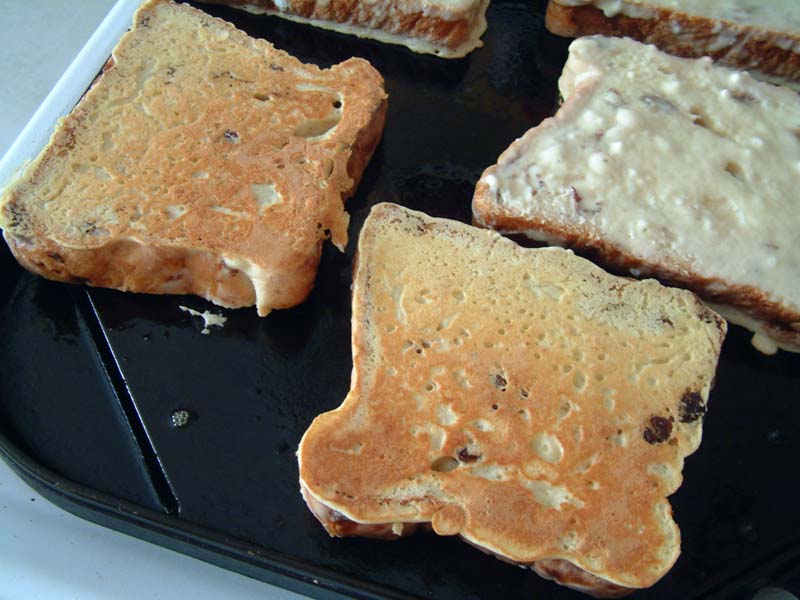
P.S.: You can use this same pancake batter to dip your Texas Toast in if you’re in the mood for french toast hot off the griddle. Just mix it up the night before, cover and refrigerate till you need it the next morning. It may need to be thinned out a touch more after a night of chilling, too.

Pancakes in a bag jar gift recipe

Pancake Mix in a Bag:
2 cups all-purpose flour
5 teaspoons baking powder
4 tablespoons granulated sugar
1 teaspoon salt

2 eggs
1/2 cup vegetable oil
2 cups milk

Combine contents of jar with eggs, oil and milk. Pour pancake mix into a large bowl. Add eggs, oil and milk. Stir until well combined.

Allow to sit in the refrigerator for 5 minutes.

These pancakes can be frozen after frying. Store each pancake separately in plastic wrap and place in a large freezer-safe zip-type bag. Reheat in microwave oven.

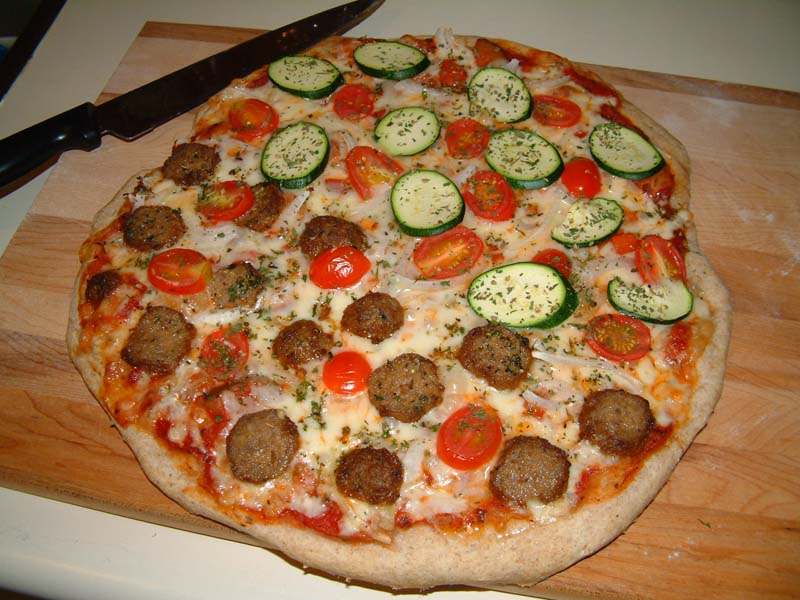
This is pizza crust made using the last of the week old French Boule bread dough. This is a large pizza pie, but you don’t have to roll it out as thin as I did if you would like a thicker crust. You’ll end up with a small to medium size instead. This dough is very accommodating.

Artisan pizza crust

What’s cookin’, Pastarella? (part 4)

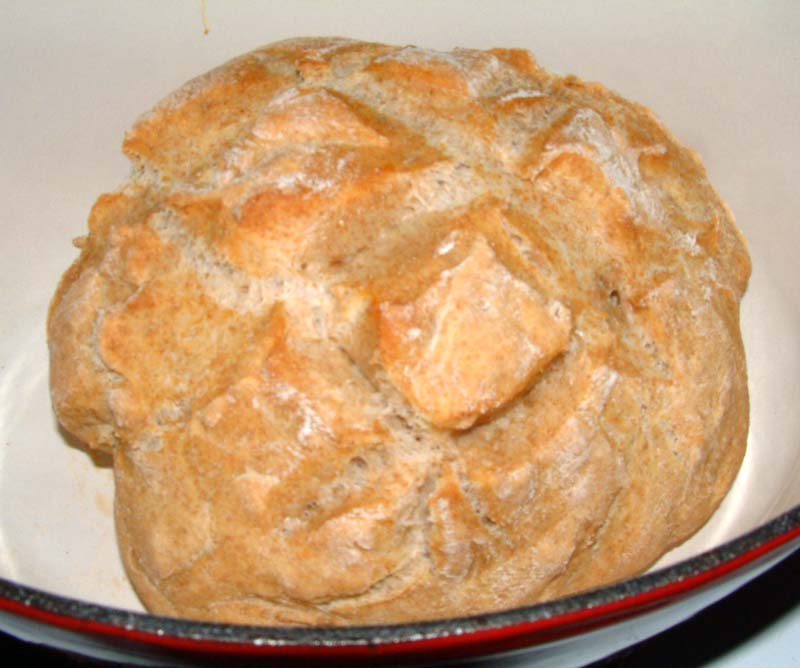
French Boule artisan bread, made from a brilliantly pared down bread recipe from the book, “Artisan Bread in Five Minutes a Day.” Very easy, no-knead bread, ripe for a billion variations! This is my half whole wheat, half all purpose flour bread. Very nice with some plain cream cheese on it.

Whole Wheat French Boule Bread - Done

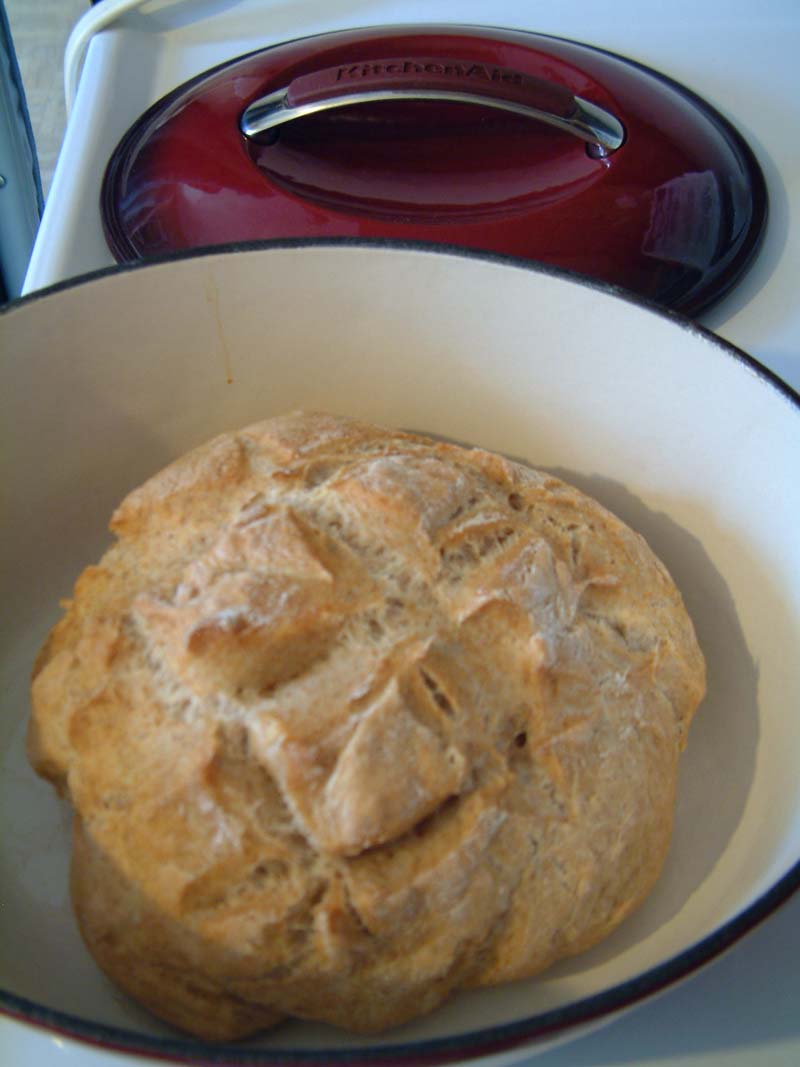
Here a shot of the same loaf after I baked it in my KitchenAid cast iron pot. I love this pot. If you want to bake bread at home, get a pot like this. It really couldn’t make bread baking any easier!

French boule bread baked in a cast iron pot

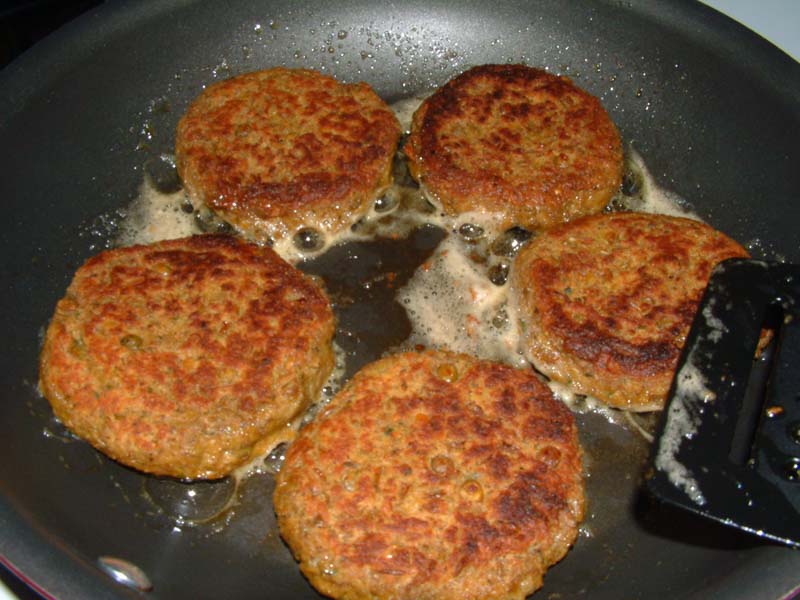
My Pistachio-Lentil burgers. These make a lovely and tasty alternative to red meat burgers. DH liked them enough to eat two for dinner, and he’s a die-hard carnivore!

Pistachio-Lentil Burgers

The recipe calls for walnuts, but I can’t stand walnuts, and the only nuts I had in the house (besides DH and myself) was pistachios. They worked beautifully, so feel free to sub out the walnuts for your favourite nut and make this burger recipe your own.

The recipe also doesn’t include how to cook the lentils for some strange reason, so here it is, as dictated from the show’s segment:

Bake or toast the dry lentils in the oven for about 15 mins. at 350 degrees (I guessed because the time and temp isn’t mentioned by Sarah in the segment). From there, drop them into a sieve placed into a large bowl with cold water up to the top third of it. Rinse the lentils quickly and then drain. Drop the lentils into a medium size pot with a lid cover, add enough cold water to cover the lentils by one inch at least. Cook on the stove over medium heat, covered, till they boil and become tender to bite but not mushy and fall part. This should take about 15-20 minutes. When that’s done, drain the last of the liquid from the pot and pour the lentils directly into the food processor. Continue with the recipe as posted in the link below to created these delicious lentil burgers. BTW, these are even better tasting and they hold their shape better after being chilled at least one full day in the fridge.

Thanks to Every Day Food for the Walnut-Lentil Burgers recipe.

What’s cookin’, Pastarella? (part 3)

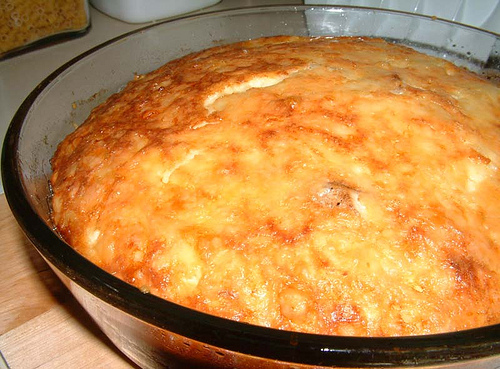
Jerk Chicken Frittatta – DH loved this. He has already requested I make this often. 🙂

Jerk Chicken Frittata

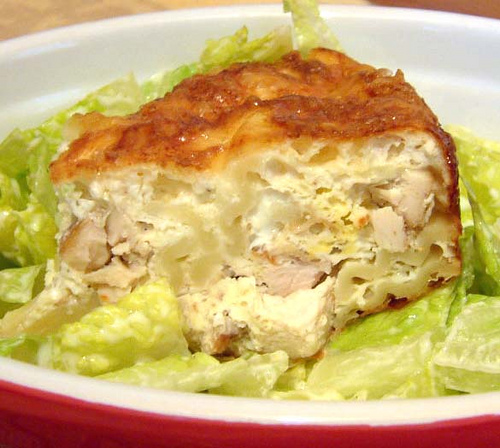
Detail shot of the pasta, chicken, prosciutto and egg mixture with its lovely golden cheese top.

Jerk Chicken Frittata - Detail

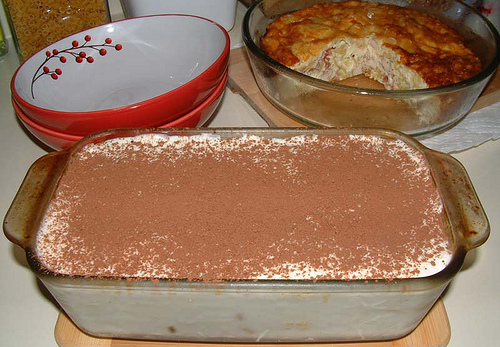
Tiramisu. Delicious, decadent and way too fattening for us, but what the hell, right? 😀

Tiramisu

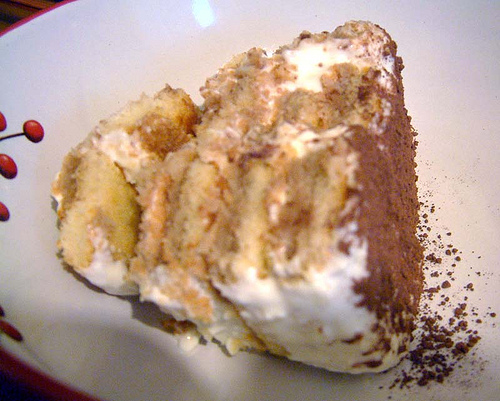
A fuzzy detail show of the lady fingers and cream layers with cocoa topping. Brilliant dessert!

Tiramisu - Detail

[ Flickr photo link for more recipe details ]