I’m drooling over these Lemon Basil Lasagna Rolls. We love lasagna. I never make it enough. I know it, and more importantly my husband knows it. Thankfully he doesn’t take every opportunity to remind me of this fact. What? He does? You’re kidding! OK, I will resolve to rectify that. Very soon. I promise, honey. {smooches}
Category Archives: Boasting
Homemade Cream Cheese
I’ve been playing around with making my own cream cheese and ricotta cheese.
1 container of full or part fat Yogurt
2 layers of Cheesecloth
Colander and bowl large enough to hold it
Plastic wrap
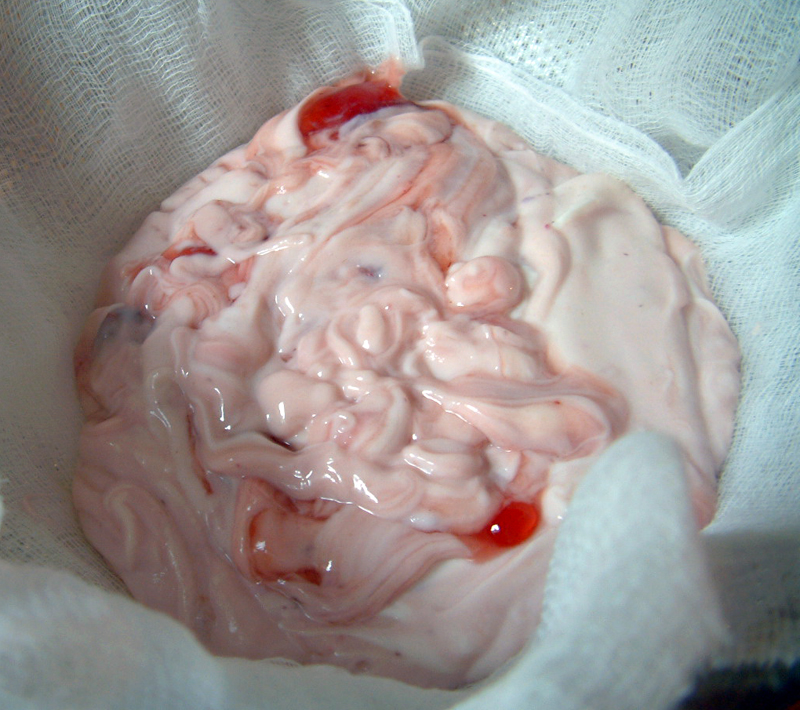
Lay two sheets of the cheesecloth inside the colander and dump the yogurt into it. Fold the cheesecloth over the yogurt, place place the plastic wrap over top of it, and place the bowl and colander into the fridge overnight. The amount of time to fully strain the liquid will depend on what type of yogurt you choose. I used 2% fat yogurt, and strained it 8-9 hours. Below is the result of that strain. I stirred in my jam at this point, relined the colander and put it back into the fridge for another 5 hours. Gathering the ends and twisting them to squeeze out some of the liquid helps, too.
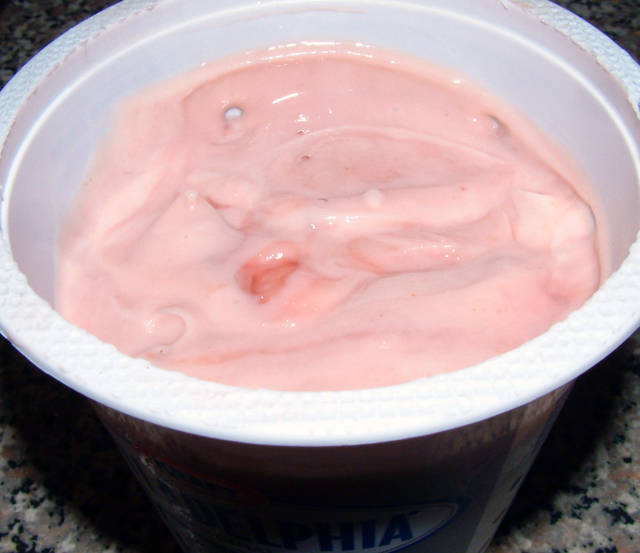
I turned the first batch of cream cheese into a strawberry blend by stirring in some Smuckers jam.
It was a bit runny even after 9 hours of straining in the fride, so I strained it another five hours so it would end up a bit thicker.
Lovely on toast. I think I might be love. I will be making my own cream cheese from now on. {swooning}
Made ricotta cheese tonight, too. Dead simple like the cream cheese, but not worth the price. I can buy more or less the same in the store pre-done for the same price. That makes me sad. Oh, well.
Made a lovely pumpkin pie torte for the boy for tomorrow’s snacking. Maybe breakfast. Dunno yet. 😀
Stewed a bunch of tomatoes into a lovely Italian seasoned pasta sauce that I will add ground beef to and make it the base layer of my ricotta filled jumbo shells for dinner tomorrow night. Should be lovely.
Made a few other things, but I’m tired and blanking. Not too shabby, though. I feel like this has been the most productive day I’ve had in a very long time. I love piddling around in the kitchen on a free day off. It’s the best!
Eggplant Parmesan
(From the archives)
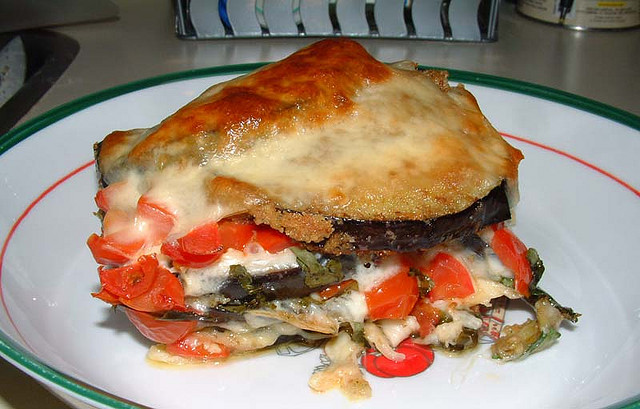
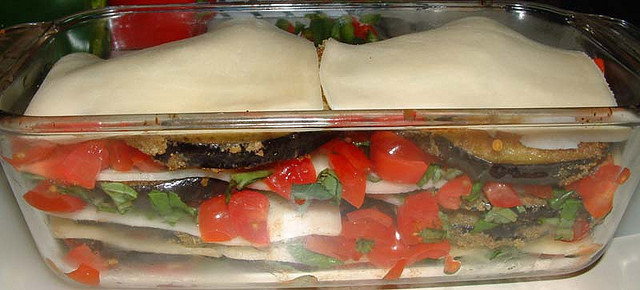
You can find the recipe over at Papamo. Very easy to assemble and lovely to taste. There is nothing that screams comfort food to me quite like tomatoes, basil, eggplant and bubbling cheese. Satisfying tastes and meal to feast upon. Try it.
Whole Wheat Linguine
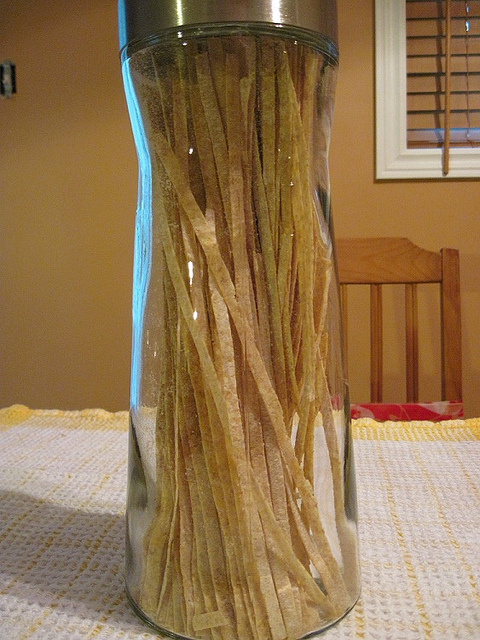
From time to time, I like to change things up and make different flavours of pasta. In this particular case, I made a batch of whole wheat pasta noodles for someone as a gift. She loved them.
(From the archives)
Not sure if you can tell by the picture, but the noodles are thick, but not too thick, so they will cook in a 7-9 minute time frame. Commercially made linguine noodles are thicker and made with stabilizers so they don’t break while in transit to the stores and home, or when they’re handled from box to pot.
I don’t use any stabilizers like that so these noodles, although thick enough for cooking and meaty sauces, are still fragile. I love making pastas but it makes me cry when the flat noodles break before they hit the pot. It’s as though all of my love and care were for naught when one cracks in half.
I’m sensitive that way. Like a pasta artist. 😉
Baked Ravioli
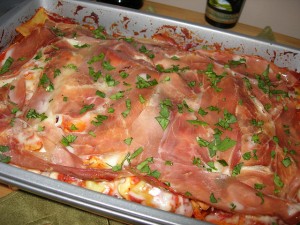
We hosted a brunch over Easter long weekend at our new house, and we had friends come so they could see the new digs, visit and, of course, mange! There was lots of food. I may not have gone overboard, but I tried to hit every possible food group I could. I had my husband manning the waffle station with toppings like whipped cream, maple syrup, fruit, etc., I had a large bowl of salad with vinaigrette dressing, and homemade veal meatballs, and finally this lovely baked ravioli dish.
This dish is easy to throw together at a moment’s notice and bake up if using store bought fresh pasta or even frozen pasta you cook on the stove top and then add to the dish right before baking. But, if you’re like me, and you love to make pasta, you’ll make this from scratch front to back. (I did cheat with a bottle tomato sauce because I ran out of time to make my own for this dish, but no one paid any attention or held it against me thankfully.)
Baked Ravioli
1 1/2 – 2C Pasta sauce (or 1 jar of store bought sauce), heated up
40-50 Fresh ravioli pasta pillows (or 2 packs of bigger frozen or fresh ravioli), cooked in salted water
1/2C Grated cheese of choice to top pasta and sauce
Finely sliced prosciutto ham, to top cheese topping
Chopped fresh parsley or spinach, for garnish before serving
Tin foil sprayed with cooking oil
Large rectangle baking pan or dish
Mix cooked pasta with the heated up sauce, and pour into cooking pan or dish. Top this with grated cheese and top the cheese with the ham.
Bake at 350 degrees covered for 25 minutes, and uncovered for 5-7 minutes – just long enough for the edges of the ham to curl. Top dish with garnish, set aside for 10 minutes to cool and set before cutting out squares and serving with side salad.
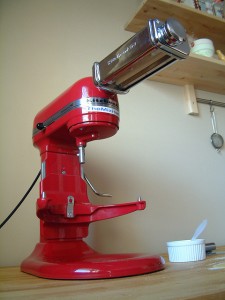
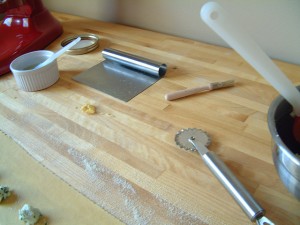
Here are the steps and equipment I used to make the ravioli for this baked dish. I used my KitchenAid mixer with my KitchenAid pasta roller, a bench scraper, a soft brush to keep the roller clump free, some egg wash to hold the pasta sheet together after I folded it over the filling, and a ravioli crinkle cutter for the edging as I cut up the long strip into the ravioli pillows.
Pasta Dough: I made my pasta using a ratio of 1 egg:1 cup of semolina flour with a small pinch of salt and a 1/2 tablespoon of water (optional depending upon the humidity in the air and used to give traction to the flour as the machine kneads it into a ball only). For the brunch, I made a double batch to ensure I had enough pillows to fill my baking dish and feed 8 adults + two kids. After the dough was made, I wrapped it in plastic wrap and let it rest on my work bench while I made the filling from scratch.
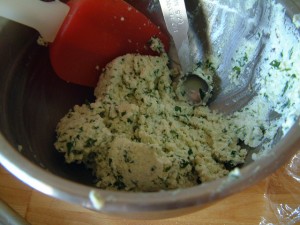
The filling was an unknown variable for me. I had an idea of what I wanted the final taste in the dish to be, so I had to work backwards to figure out how to whip up a quick yet tasty filling recipe. I kept it simple and easy to find ingredients for, and one that in the future I can jazz up a bit if I want to get more creative or have some lovely exotic ingredients in my hot hands. This is what I came up with:
Ravioli Filling
1C Ricotta cheese (strained if too wet)
1/2C Spinach (fresh or frozen with liquid squeezed out)
1/2C Parmesan cheese (finely grated and fresh only, for the love of dogs)
1/4C Fine ground bread crumbs (I make my own using stale bread and spices of choice)
Small pinches of S&P (fresh cracks to taste)
Mix all of the wet ingredients with the dry till you get a lovely creamy paste. It shouldn’t be wet, but also shouldn’t crumble apart. You should be able to ball up a bit and drop it off a spoon onto the pasta sheet without difficulty.
Working in small chunks of the dough while keeping the remaining dough covered up, I ran each blob though the roller at various opening starting at #1 and passing it through each opening thickness twice till I got to #3. After 6 full passes, if the sheet was still too thick, I’d ran it for two more passes at the #4 opening.
Note: You can roll out pasta dough with a rolling pin; you don’t need fancy pasta attachments for your mixer, but they do speed things up and evens out the final product if you have them. Simply roll the dough out evenly to a thickness of 1/6″ or slightly less, but don’t go too thin or the sheet will tear as you fold it over.
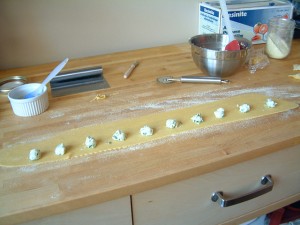
When I got the thickness I was after and a good long length of pasta sheet, I would place it over my floured work bench and start dropping my filling down in a row of small balls just below an imaginary middle fold line running the full length of the sheet while leaving at least a 1/2″ gap between them where I can run the egg wash around the filling. The egg wash helps bind or glue the folded over sheet so I can then cut out the pillows.
Here is a great little video of how one of the chef’s from Jamie Oliver’s cooking school forms her ravioli, with a few useful tips – one of which includes what to do with any leftover bits of dough. That’s a bonus pasta making lesson right there! Go watch that video and come back here. My instructions will make more sense to after you do.
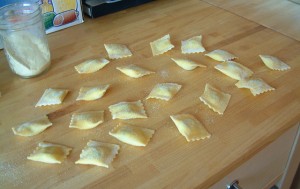
I took the top half of the sheet which was empty but moist with the egg wash, I then folded it over the balls of filling and used my fingers (not just the tips) to press down slightly on the pasta around the filling, pushing out as much air as I could till all the pillows are formed. At that point, I used the ravioli cutter with its lovely crinkle cut edge, to separate the strip into individual ravioli pasta pillows. I let them rest on another floured section of the work bench to air dry a bit.
When all of the ravioli was made and had time to air dry a bit, I put them on jelly roll trays lined with wax paper and placed them into the freezer for an hour. After they froze up, I moved them into a Ziploc baggie to continue freezing since I wasn’t going to cook them for another two days. Even if I was planning to use them that night for dinner instead of days later, I would still freeze, bag and then freeze them until I needed to cook them. Fresh pasta is lovely, but you have to freeze things like ravioli individually lest they start sticking to each other or other things which they will do given the moisture in the pasta dough and the filling. Trust me on this. It’s a horrible mess when that happens. Very gluey and gross. :-\


