Category Archives: Yummies

Acorn Cakelet Recipes & Help

Getting lots of search hits for the Acorn Cakelet pan from Williams-Sonoma; specifically for recipes to use with it.

I tried a few different types of cake mixes, from scratch and from a box, and in my experience the only ones that work best are dense cakes like sponge cake recipes. Flavour doesn’t matter, the density of the mixture does.

Someone also mentioned in their review using bread mix in this pan. There are many interesting and versatile uses for this pan as long as you put your creativity hat on and are open to trying new things in your kitchen.

One reviewer said she, Plan(s) on using my pan for cornbread, brownies and small stuffing acorns w/my turkey.” Those are some terrific ideas for this pan. Talk about thinking outside the die-cast mould! I will have to try them all myself to see if they work out well.

Hope that helps all of you.

Bonus: When making cookies or biscuits with a tacky or slightly wet dough, it helps to flour the mould. For cookies, I dust powdered sugar into the pan detail after spraying the pan with non-stick spray. For biscuits, I use a bit of the same flour used in the dough or a touch of corn flour to give it a nice texture when they pop out later. i mentioned this idea to the local W-S demonstrator, and her eyes bugged out because it was such an obvious and simple solution to working with their Nordic pans. You’re welcome, Williams-Sonoma. 😉

Homemade Tortelloni

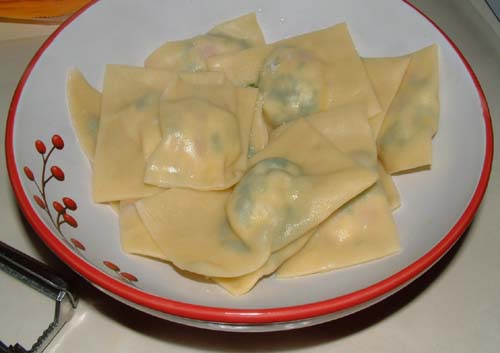
Marcella Hazan’s brilliantly easy to make homemade tortelloni.  This delicious recipe can be found in her “Essentials of Classic Italian Cooking” cookbook.

  • Yellow pasta dough
  • Filling
  • Pasta sauce
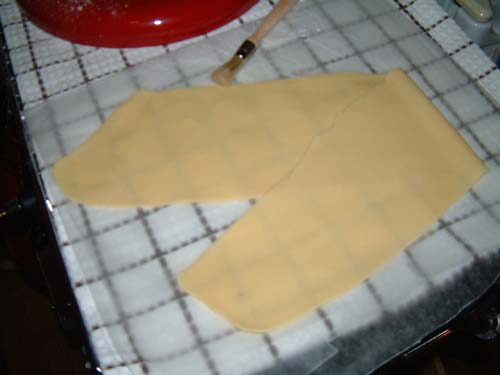
  • pastasheet.jpg
    stuffingtortelloni1.jpg
    tortelloni.jpg

    The Recipe: This recipe states it makes enough for six servings, and sometimes recipe yields are wildly off; this one isn’t. I cut the dough in half, wrapped up one lobe and froze it while processing with the second lobe for dinner. It yielded two full servings plus enough for a single serving for my lunch today. Next time I will know to cut the dough into thirds and freeze two lobes for future dinners for two, or I will take a whole day to use up the full batch and freeze what we don’t cook that night.

    The Dough: Awesomely simple dough that comes out silky smooth when put through my KitchenAid pasta roller attached to my mixer, a.k.a The Mixinator. I love making pasta! The only issue I had making this batch was it was drier than it should have been, but that could be because I should have used four XL instead of four large eggs, or even five large instead of four large eggs, to sufficiently moisten the flour to get it ball up. I ended up deciding to add 3 tablespoons of water (one at a time) to make up the difference.

    The Filling: The Swiss chard at the grocery store looked like doo, so I used clean, ready-to-cook bagged spinach instead. I also substituted prosciutto with breakfast chicken strips because we don’t normally shop at an Italian grocery store. No matter, the filling was just as tasty and balanced as if I had used the intended ingredients.

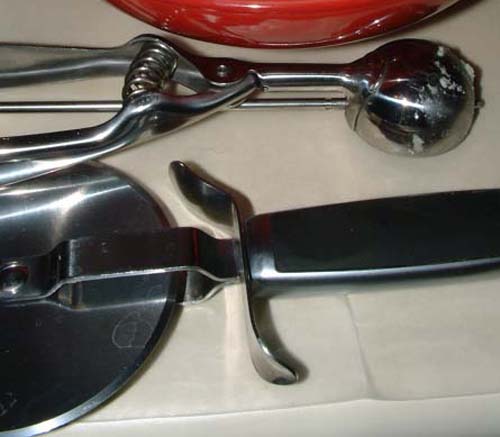
    The Tools: I already mentioned using my KitchenAid “The Mixinator” mixer, and the Kitchenaid pasta roller from my pasta roller kit to make the long pasta sheets, but I didn’t mention the other tools I used to stuff the totelloni. I used my lovely little mini ice cream/cookie dough scooper to dump about 2/3 of a scoop out onto the long pasta strips, leaving about 1.5″ gutters between each blob, running the full length. I positioned each filling blob right below an imaginary middle line along the sheet so that when I folded it over, I would have a bottom edge to press together after I added a dab of water to the pasta sheet. I then used my fingers to press the air out and the pasta sheets together all around each blob, as though I were tucking a blankie around a child. The final tool I used was my seldom needed pizza cutter. I ran it along the bottom and side edges to square them up neatly before cutting smack dab in the middle of each gutter between the tortelloni squares. Worked like a charm.

    The Cooking: I laid out each assembled and cut tortelloni square on a clean towel to rest before I cooked each batch in a pot of boiling, salted water. The squares drop to the bottom when they are raw and rise to the top when they are cooked. This happened in a matter of 2-4 minutes. I scooped them out using a slotted Chinese wire wok spoon, placed them in a bowl and covered them with the pasta sauce and freshly grated cheese.

    The Sauce: I was running late with dinner last night, and by this point tired of being in the kitchen, so I cheated by heating up some bottled pasta sauce I had to use up anyway. I will try Marcella’s accompanying pasta sauce from scratch the next time I make this tortelloni. And there will be a next time; most definitely! I made so many that I have extra to cook here at work today for lunch in a lovely clear chicken broth. I can’t wait for lunch time to roll around. Hee.

    All in all, I can’t find even one remotely negative thing to say about this recipe for tortelloni. It was super easy, about as time consuming as I thought it should be and tasted just as great even with ingredient swapouts. I don’t think you can go wrong with this recipe, kids. I give it a full 10/10 and a big “TRY THIS RECIPE!!”

    Weekend Pleasures

    Had some time yesterday to finally (finally!) crack open my new KitchenAid pasta attachments. They rock, people. Simply rock. I am in love. With attachments. The kind that plugs into my Mixinator. Lovelovelove. *swooning*

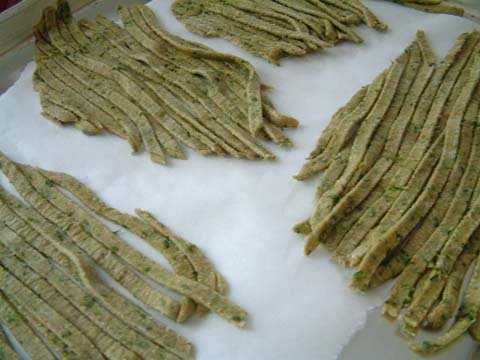
    First up, whole wheat spinach pasta. The dough was a mix of two recipes I smashed together. Feeding the dough through the rollers was fun, but not as much fun as feeding it through the cutters. I loved that part the most aside from how easy the roller and cutters are to use. Brilliantly simple. Like, simple enough for this simpleton to work ’em. And if I can work ’em, people, YOU will be able to work them in your sleep. Trust me on this.

    Yummy fresh whole wheat spinach pasta

    Cajun Chicken Casserole

    Not sure where this recipe came from or who to credit for it’s inception, but I got it from the couple who brought this delicious dish to a dinner party we attended earlier this year. I loved it so much, I begged for the recipe. I’m shameless in that respect. Hee. It’s a very yummy dish, and fairly straightforward to make, so give it a whirl.

    Cajun Chicken Casserole

    Cajun Chicken Casserole

    1 lb of cooked and slicked chicken breast
    3 tablespoons of olive oil (any kind you like)

    Cook chicken in a skillet while your oven pre-heats to 375 degrees.

    1 red bell pepper, coarsely cut up
    1 green bell pepper, coarsely cut up
    1 medium onion, coarsely cut up (your choice of onion type)

    Remove chicken from the skillet and place in a rectangle dish; set aside. Sautee the veggies in the skillet till soft and heated through (about five minutes).

    1 14 oz can of Cream of Chicken soup
    Half a large can of diced or crushed tomatoes (your choice which you use)
    Cajun seasons of your choice (I use a few dashes of cumin and chili pepper, and match it with a pinch of red pepper flakes)
    Salt and pepper to taste

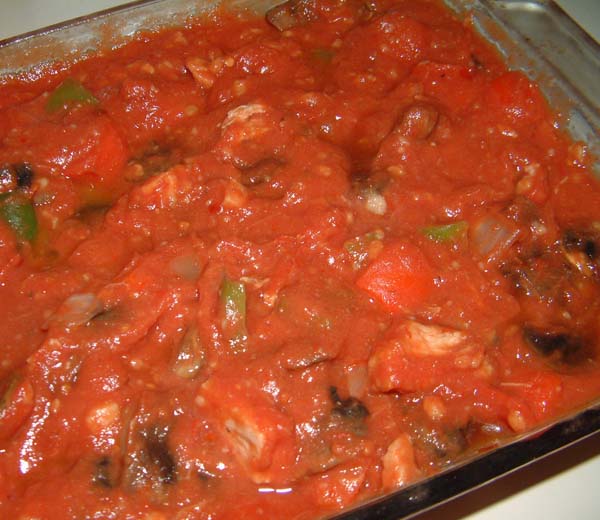
    Mix soup, tomatoes and seasonings in a bowl to blend well; set aside. Place sauteed veggies over chicken in the glass dish and top with the soup and tomato mixture. Mix well.

    Cajun Chicken Casserole

    1 C all purpose or whole wheat flour (I use a mixture of both)
    1/4 C sugar
    1/4 C salt
    2 1/2 teaspoons baking powder
    1 egg, beaten
    1/3 C vegetable oil
    3/4 C milk or water

    Mix pancake batter up in mixing bowl with lid, cover and let it rest in the fridge for five or more minutes.

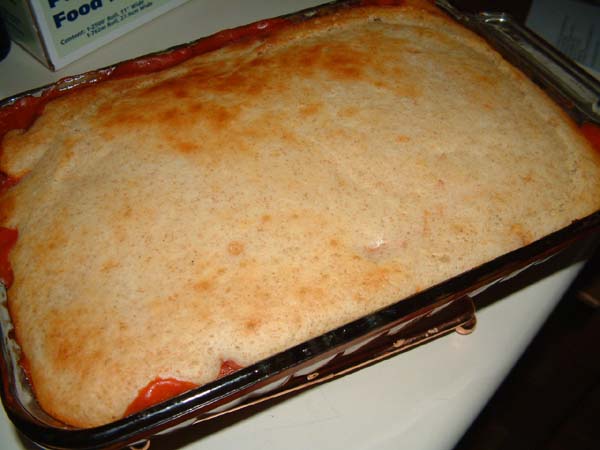
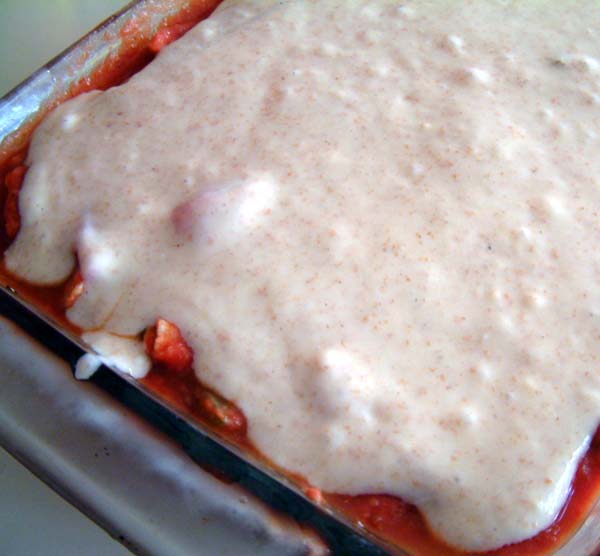
    Pour pancake batter over the top of the glass dish mixture, spooning it up to about 1/2″ away from all edges. The topping will puff and rise as it bakes. Cook for 25 minutes.

    Cajun Chicken Casserole

    If you notice about half way that the pancake topping is already golden brown, pull the dish from the oven and use a sheet of tin foil loosely draped over the dish (resist the urge to fold the tin foil down at the sides of the dish) to create a tent to shield it from burning while it cooks in the hot oven for the remainder of the time.

    Serve with sour cream and guacamole or a light green salad.

    Two Cheese Bulgur Pilaf

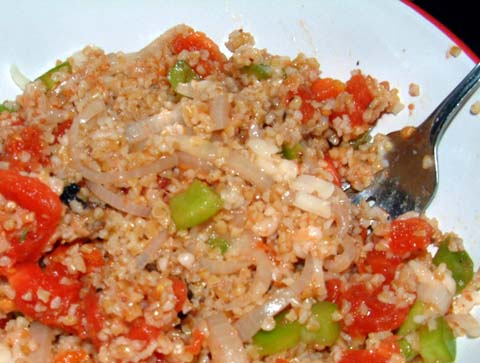
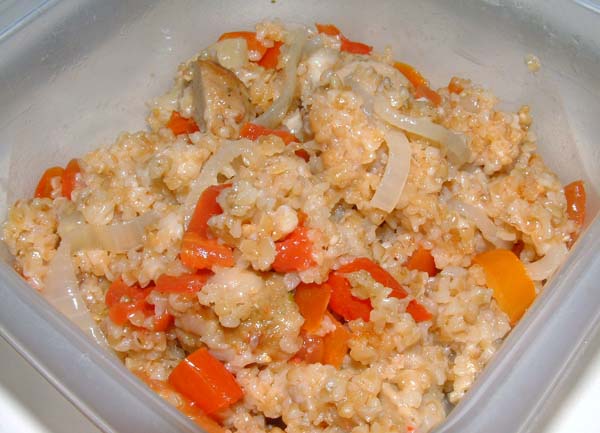
    Bulgur Pilaf 2Bulgar Pilaf w. Two Cheeses Skillet

    Got this pilaf recipe from the back of the Goya bulgur bag. It was very yummy in that, “I’m eating comfort food,” yummy. Even DH liked it enough to eat a bit more than he should have comfortably, but he’s not complaining. If this pilaf were on menus at my local restaurants, I would order it every time. The ingredients guarantee it will be a winner no matter who cooks it. Bulgur is an amazing rice or starchy ingredient substitute for most recipes. Try this one and see for yourselves.

    Bulgur Pilaf w. Two Cheeses Skillet:

    3 teaspoons of the best olive oil you have
    1 C halved and thinly sliced white or yellow onion

    1 C medium to course bulgur
    1 minced or finely chopped clove of garlic

    1 C Diced or crushed tomatoes (I diced large cherry tomatoes)
    1 3/4 C chicken stock of your choice
    A few pinches of salt

    1/2 C mozzarella or edam
    Grated parmesan cheese

    Heat skillet and then heat up oil in it. Add onions and cook till translucent (about five minutes). Add bulgur and garlic, stir and cook for two minutes to heat through.

    Add tomatoes, stock and salt. Cover and lower temperature to cook for 20 minutes.

    Add mozzarella or edam cheese to skillet and blend well. Plate the pilaf and top with parmesan cheese.

    Note: I added pre-cooked, thawed and quartered chicken meatballs to the skillet when I added the tomatoes, stock and salt. It adds a nice protein that my husband appreciates because I can’t be bothered to make any meat dishes anymore.

    Ahh, the things I do for the sake of domestic harmony. 🙂